Installation Instructions
Guidelines:
Before any installation is started, be sure to verify:
• Model of mat and frame
• Size of mat and frame
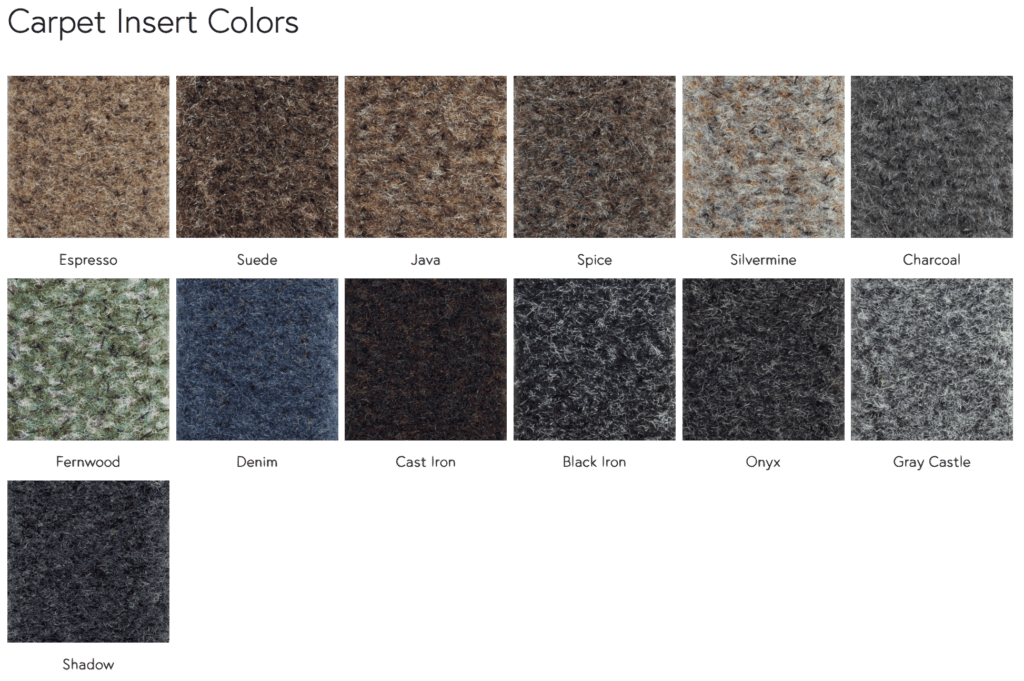
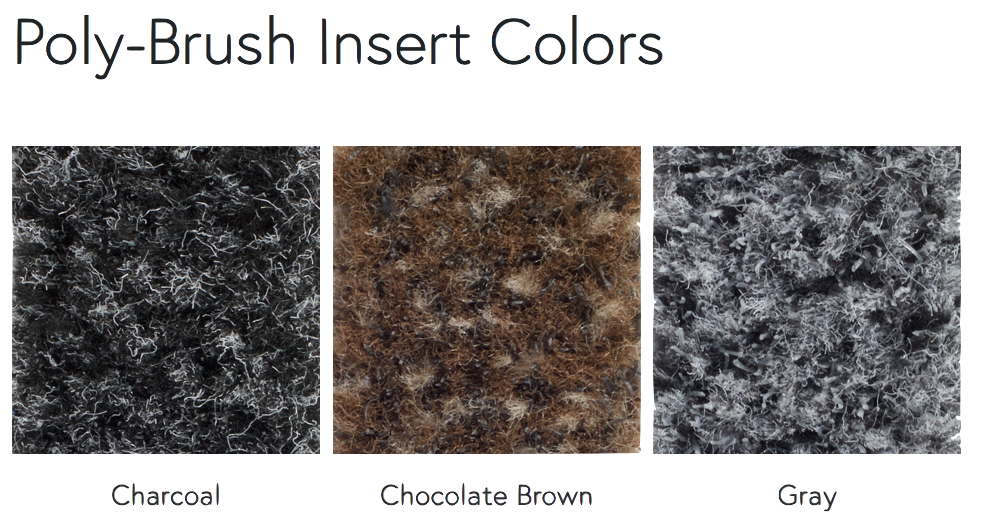
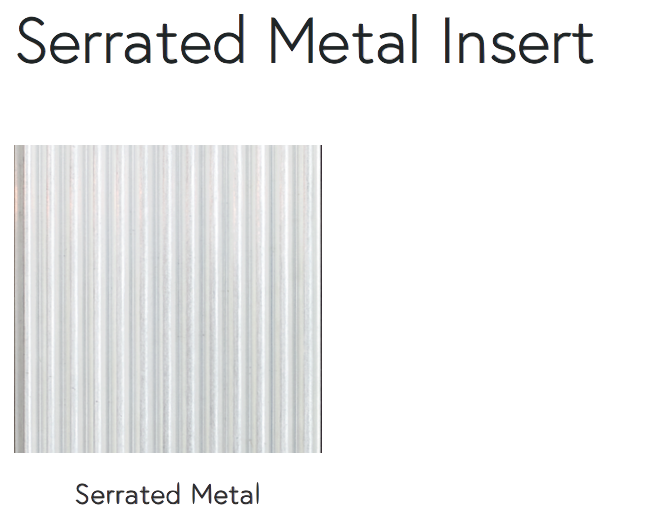
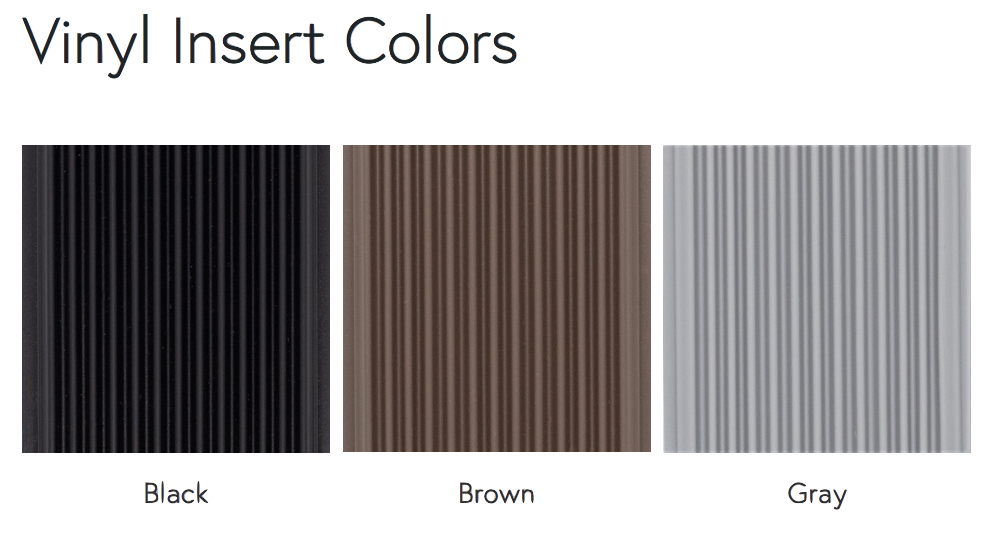
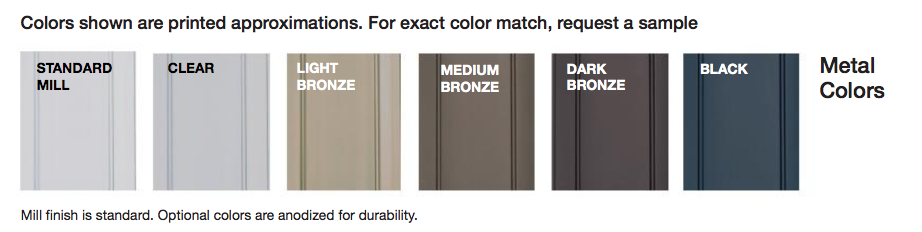
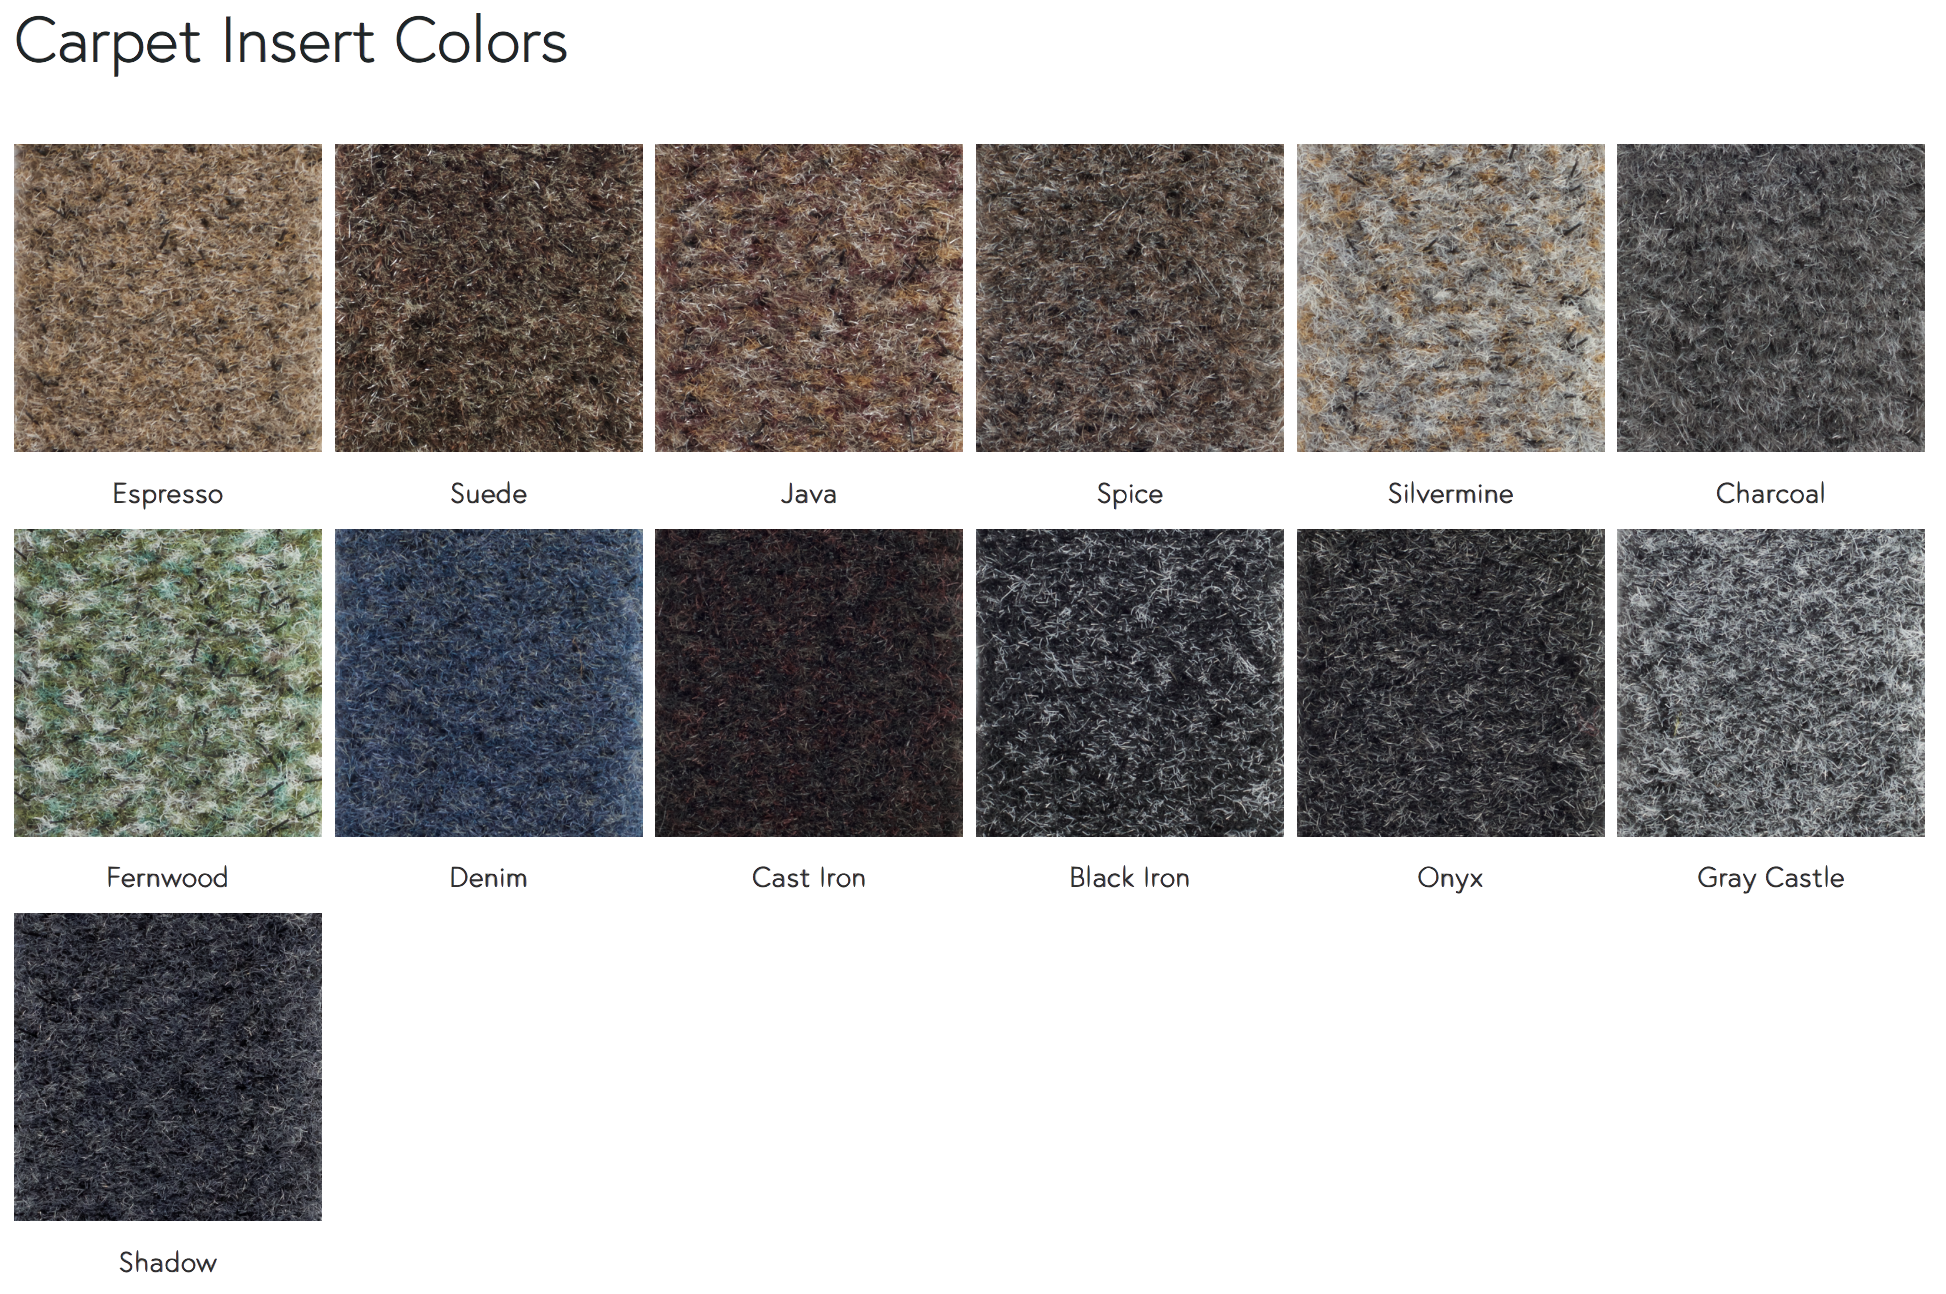
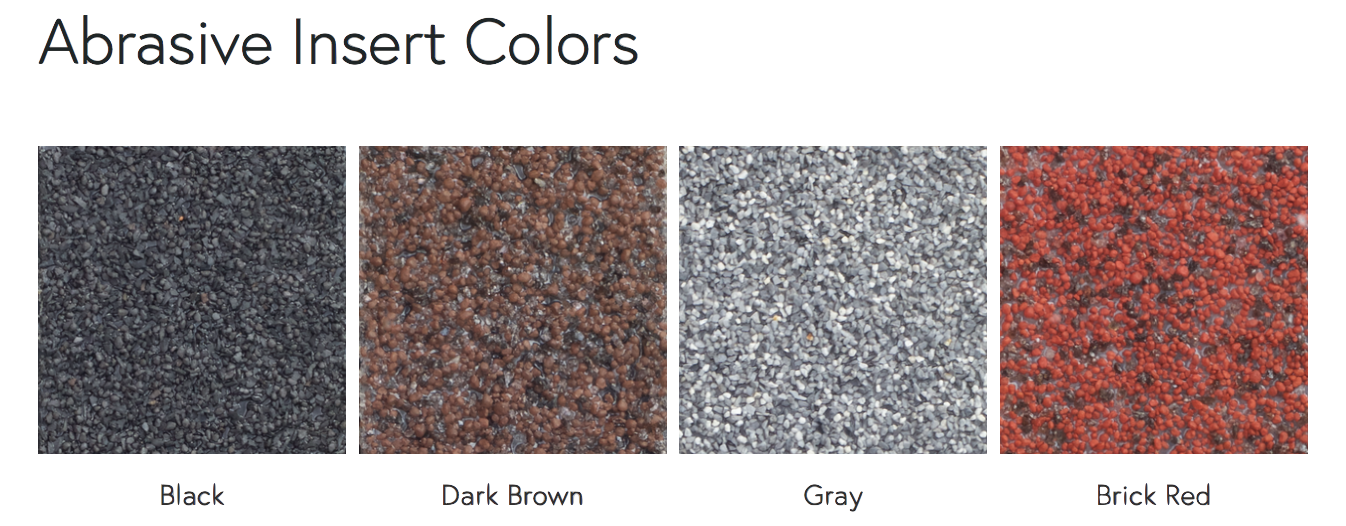
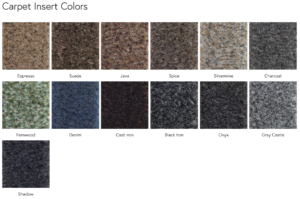
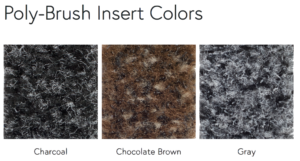
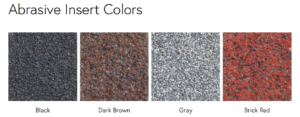
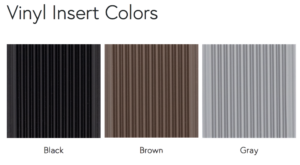
• Product color
• That there are no visual defects or damage from shipment
Important: No returns will be accepted after the material has been installed.
Failure to follow these installation instructions may void your warranty.
Installation Instructions:
1. Prepare a recess in the concrete flooring (block out) where the mat will be installed. The recess should be deeper than the total height of your mat and
frame; consult your shop drawing for proper depth. Block out an area 6” wider than the outside dimensions of the frame in both directions. This will allow 3” on all sides to maneuver the frames into place.
2. Secure the frame to the concrete using anchor bolts or screws of choice that are set into the floor. Stainless steel screws and plastic anchors may also be used.
Frames come with mitered corners.
3. Drill holes in the frame at 18to24-inch intervals for the bolts/screws. Countersink the holes as the mat will set inside the frame. (This prevents the mat from riding up on the head of the bolt/screw).
4. Set the frames into position within the recess. Mark the hole locations on the concrete. Remove the frames and drill holes in the floor for the anchors. Clean the concrete dust away and install the anchors.
5. Install the frames using the appropriate anchor bolts.If needed, shim under the frame sections so the top edge of the frame is flush with the finished floor and level.
6. Pour concrete (using non-shrinking grout–sand coat is not recommended) around the edges of the frame (if needed) and in the center of the frame, level with the inside lip of the frame.
7. Level the concrete. Use a board slightly smaller than the frame opening and level the concrete in each section to be flush with the leg of the frame. Make sure the concrete is smooth and level with the lip of the frame so the mat lies perfectly flat and will not shift.
6. Before the concrete hardens, verify that the dimensions are correct, frame is square and level, and the frame corners are at correct angles so the mat will fit properly. Verify the outside frame dimensions are identical to your shop drawing.
7. After concrete has hardened, install plywood into the recess to fully protect the frame edges until just before the entrance is opened and the mats are installed.
10. Clean all frames and recess before installing mats; debris cannot be tolerated between the frame and mat.
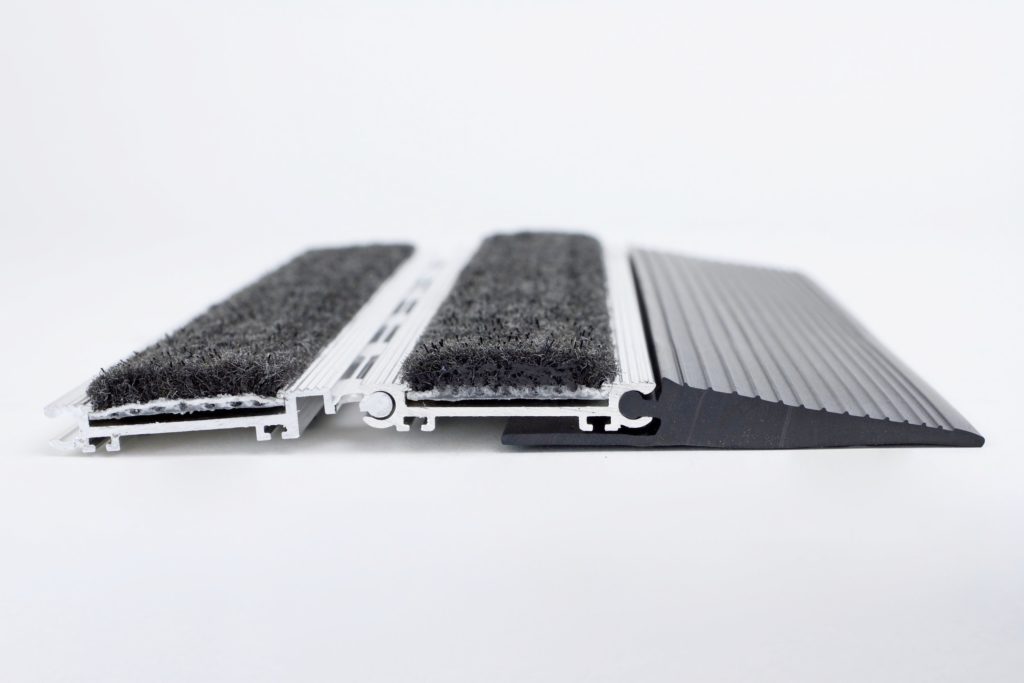
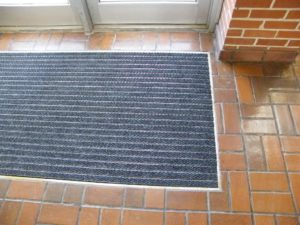
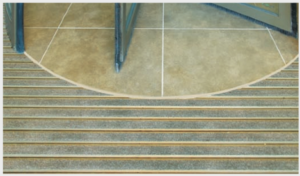
Surface Installation Instructions:
1. Mark the lay out on the floor where ramp frame needs to go for a smooth transition.
2. If holes are not present,drill holes in the frame at 18-24 inch intervals for the bolts/screws. Countersink the holes.
3. Set the frames into position. Keeping the frames in position, mark the hole locations in the floor for the anchors. Drill the holes, clean concrete dust away, and install the anchors.
4. Secure the frame to the floor surface by inserting anchor bolts/screws into lead anchors that are set into the floor. Stainless steel screws and plastic anchors may also be used.
5. Clean all frames and recess before installing mat; debris can not be tolerated between the frame and mat.
6. Place mat, loose laid, within frame. Straighten as needed and position mat square and evenly spaced in recess.
7. Trim square edge vinyl filler equally at top and bottom of mat (use utility knife with sharp blade). Uniformly trimmed filler and a well-positioned mat result in a high quality fit and appearance.
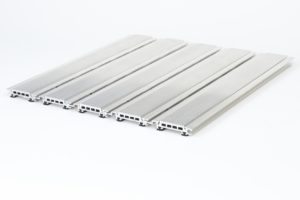
Fabrication Instructions
1. Place mat to be cut on sturdy tabletop surface. On one end of the table, fasten a straight edge bar or angle piece to serve as a stop edge for one end of the product. Be sure bar is square on the table.
2. Butt one end of the mat tight to bar fastened to table.
3. Measure to desired length to be cut and mark product with fine tip black marker.Remove black vinyl cushion on bottom of mat if needed for level cutting surface.
4. If trimming only 1⁄4” or so, cut carefully with a portable band saw. Prior to cutting, clamp an additional bar or straight edge to top of product to hold grid steady. If trimming more than 1⁄4” or so, a circular saw with a sturdy carbide-tipped blade will work just as well. Use a straight edge or angle piece for saw to travel against to achieve a nice even cut. Be sure to clamp straight edge to product prior to cut.
5. After cut, clean any smudges or markings with lacquer thinner. If set screws have been cut off, re-install new screws as needed to secure rails. Brush out ends of tread, then singe with a propane torch (on low setting).
6. Clean up product and return to service.
Slide-on Filler/Drill-on Filler Installation Instructions:
1. Prior to working with vinyl, soak the pieces in a hot water tub. This will straighten any curves or kinks in the product. Remove from the hot water and lay out pieces straight on a flat surface. Let cool prior to installation.
2. Place mat on a sturdy tabletop surface. On one end of the table, fasten a straight edge bar or angle piece to serve as a stop edge for one end of the mat. Be sure bar is square on table.
3. To install slide-on filler (filler piece with ball at one edge), feed one end into the female socket of rail at outside edge of mat. Pull to opposite end of rail, leaving a little bit to overhang rail at each end. On the backside of the rail, approximately 2” from the end of rail, drill a hole through only one layer of rail to allow room for an 8/32” x 1/4” set screw to fit into rail and hold filler securely in place. Do this at both ends of rail. Be careful to not drill too deeply and go through top layer of rail leaving a visible hole. Use a sharp utility knife or pruning-type shear to cut excess filler. Be careful to cut a straight line.
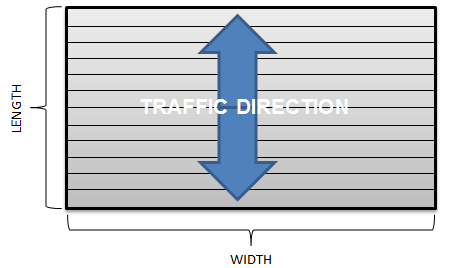
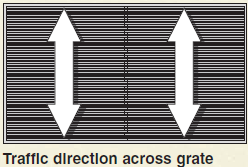
4. To install drill-on filler (filler piece with flap at one edge),flip mat face down on table top. Carpet will face table top and back of mat will be face up. Butt one end of the mat tight to bar fastened to table. Adjust width of mat (traffic direction) to desired dimension and attach to table with screws in between drain holes of hinge. This will keep mat from shifting while attaching filler. Lay filler piece at mat edge with flap covering rail bottom and vertical wall of filler pushed snugly up to rail ends. Drill hole through vinyl filler flap and carpeted rail to insure tight fit of filler flap to rails. Use compressed air to blow out debris from drilled holes. If not cleared properly, filler will not fit tight to rails. Use a #44 large flange pop rivet to fill hole and press firmly as you pop rivet to hold filler snug at end of rails. Go down length of filler every four to five rails and attach filler. Once this is complete and filler is held in good position, go down entire length and drill remaining holes following the same procedure.
5. Leave filler overhanging by 3” at each end. To fasten drill-on filler to slide-on filler at joints, apply super glue on flap and vertical edge where fillers meet. Use caution to notallow super glue to run onto top surface of fillers and spoil the finish. Once joints aresecurely fastened, use a sharp utility
Rail Removal/Addition Instructions:
- Use an H-2 (5/64”) or a 5/64” Allen Wrench Hex Key.
- Install the driver bit in the tip of a cordless hand drill, screw gun, or use the wrench for manual removal.
- Back out set screws on the bottom side of the rails.
- Slide rail forward to remove rail from mat.
- Using the same process in reverse, re-assemble and re-set screw remaining mat piecestogether.
Warranty
The Mad Matter, Inc warrants to its purchasers, for a period of two years on standard products from the date of shipment, that any entrance floor mat or grid will be free of defects in workmanship and materials. The liability of The Mad Matter, Inc is strictly limited to repair or replacement of the product that, in our opinion, were properly installed and subsequently found defective. The warranty is not applicable if the mats or grids are damaged by overloading or if standard cleaning and maintenance procedures are not respected. No claims for consequential damages of any nature will be allowed. This warranty is in lieu of all other warranties, expressed or implied.


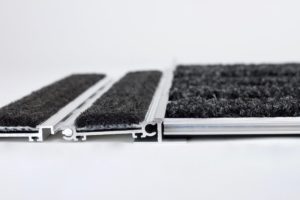
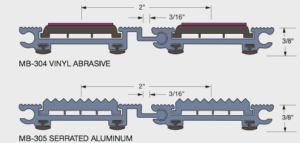
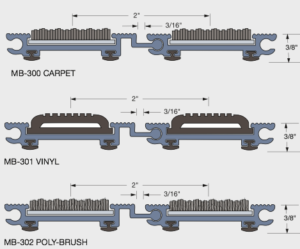
Depth: 3/8″, with recessed “L” frame 7/16″ (level base).