Cleaning Instructions
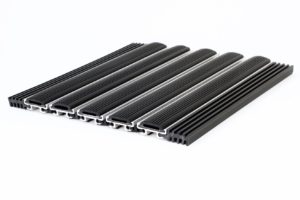
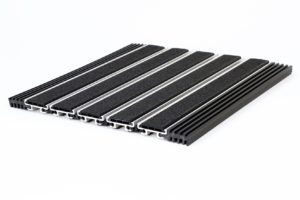
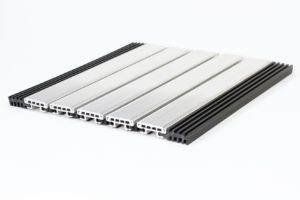
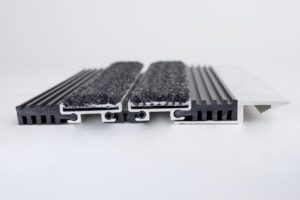
Cleaning and Maintenance Instructions Recessed Aluminum Floor Mats
General:
- During the winter season, remove product and clean rails once per week. During other seasons, once per month should be sufficient.
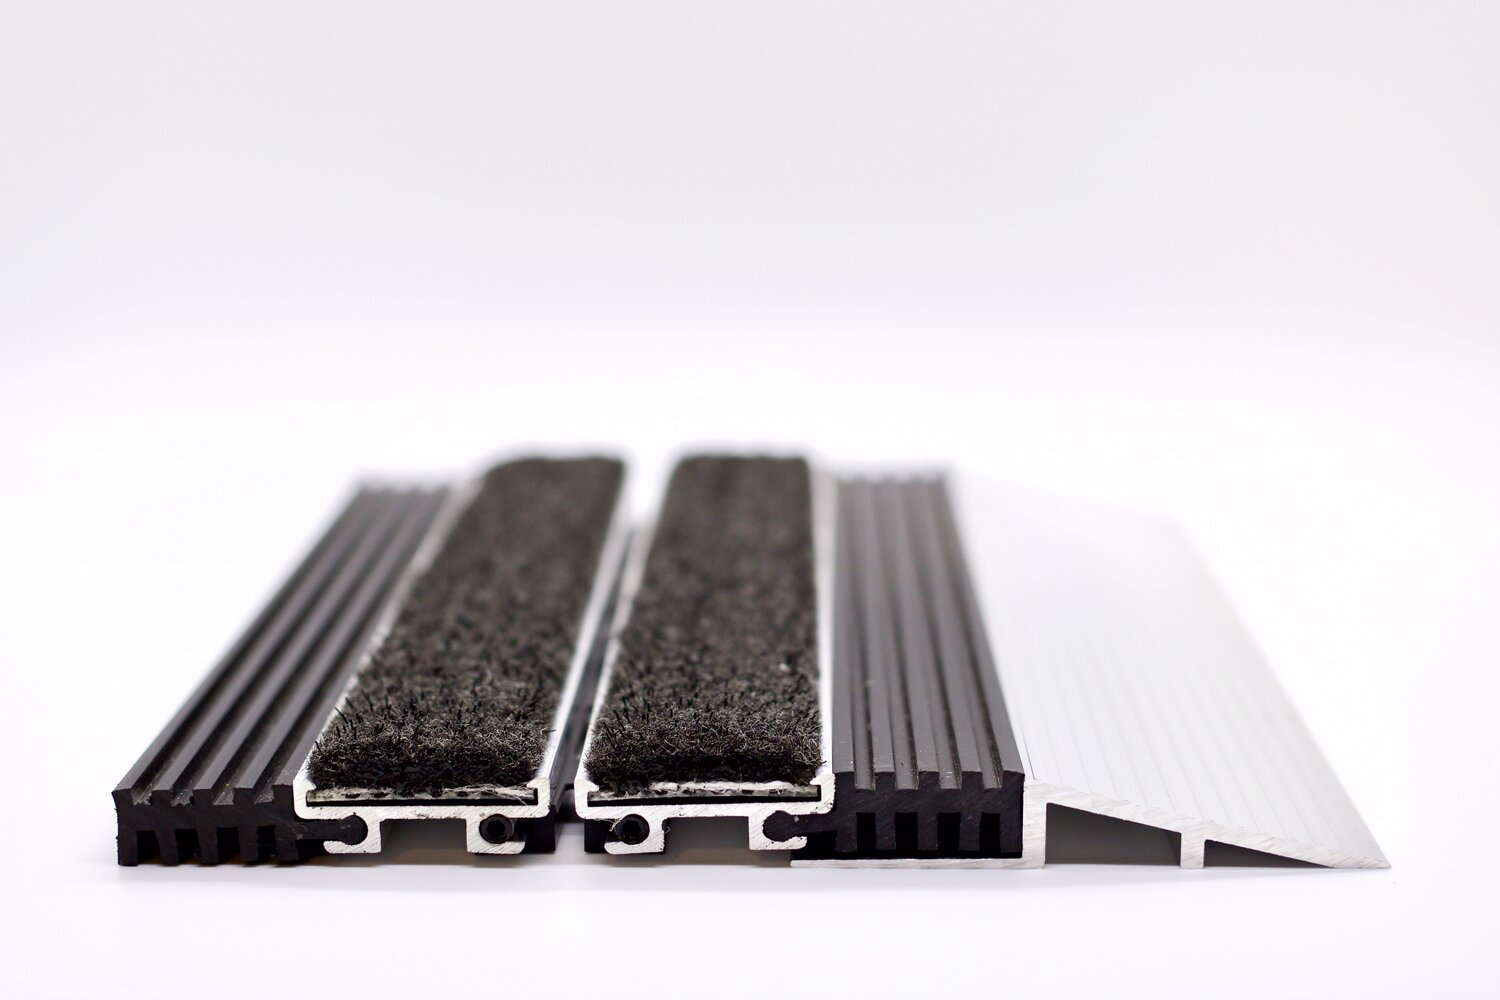
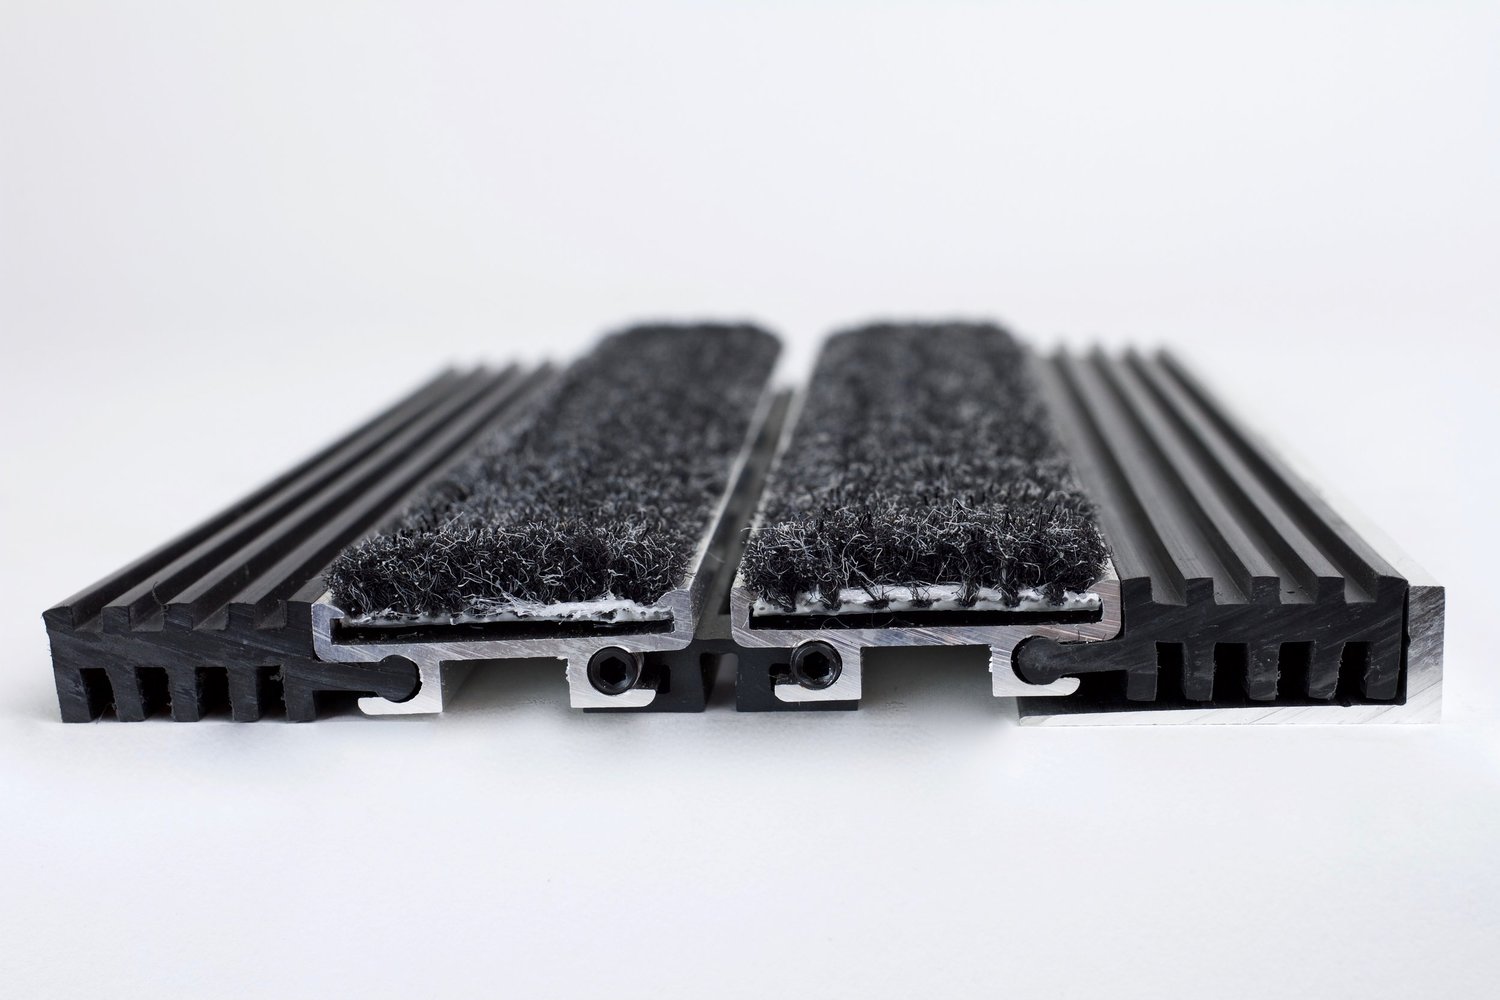
- Debris between the rails should be removed during the cleaning process. Each time the rails are cleaned, make sure there is no debris underneath in the recess; this will prevent product from warping due to an uneven substrate and prevent long-term problems. (Vacuuming is the most effective method for this cleaning.)
- If the units are above a drain, ensure that nothing is blocking the water flow to the drain.
- Never apply wax or other polishing products to the surface of the units; this would create apotential hazard.
Specifics:
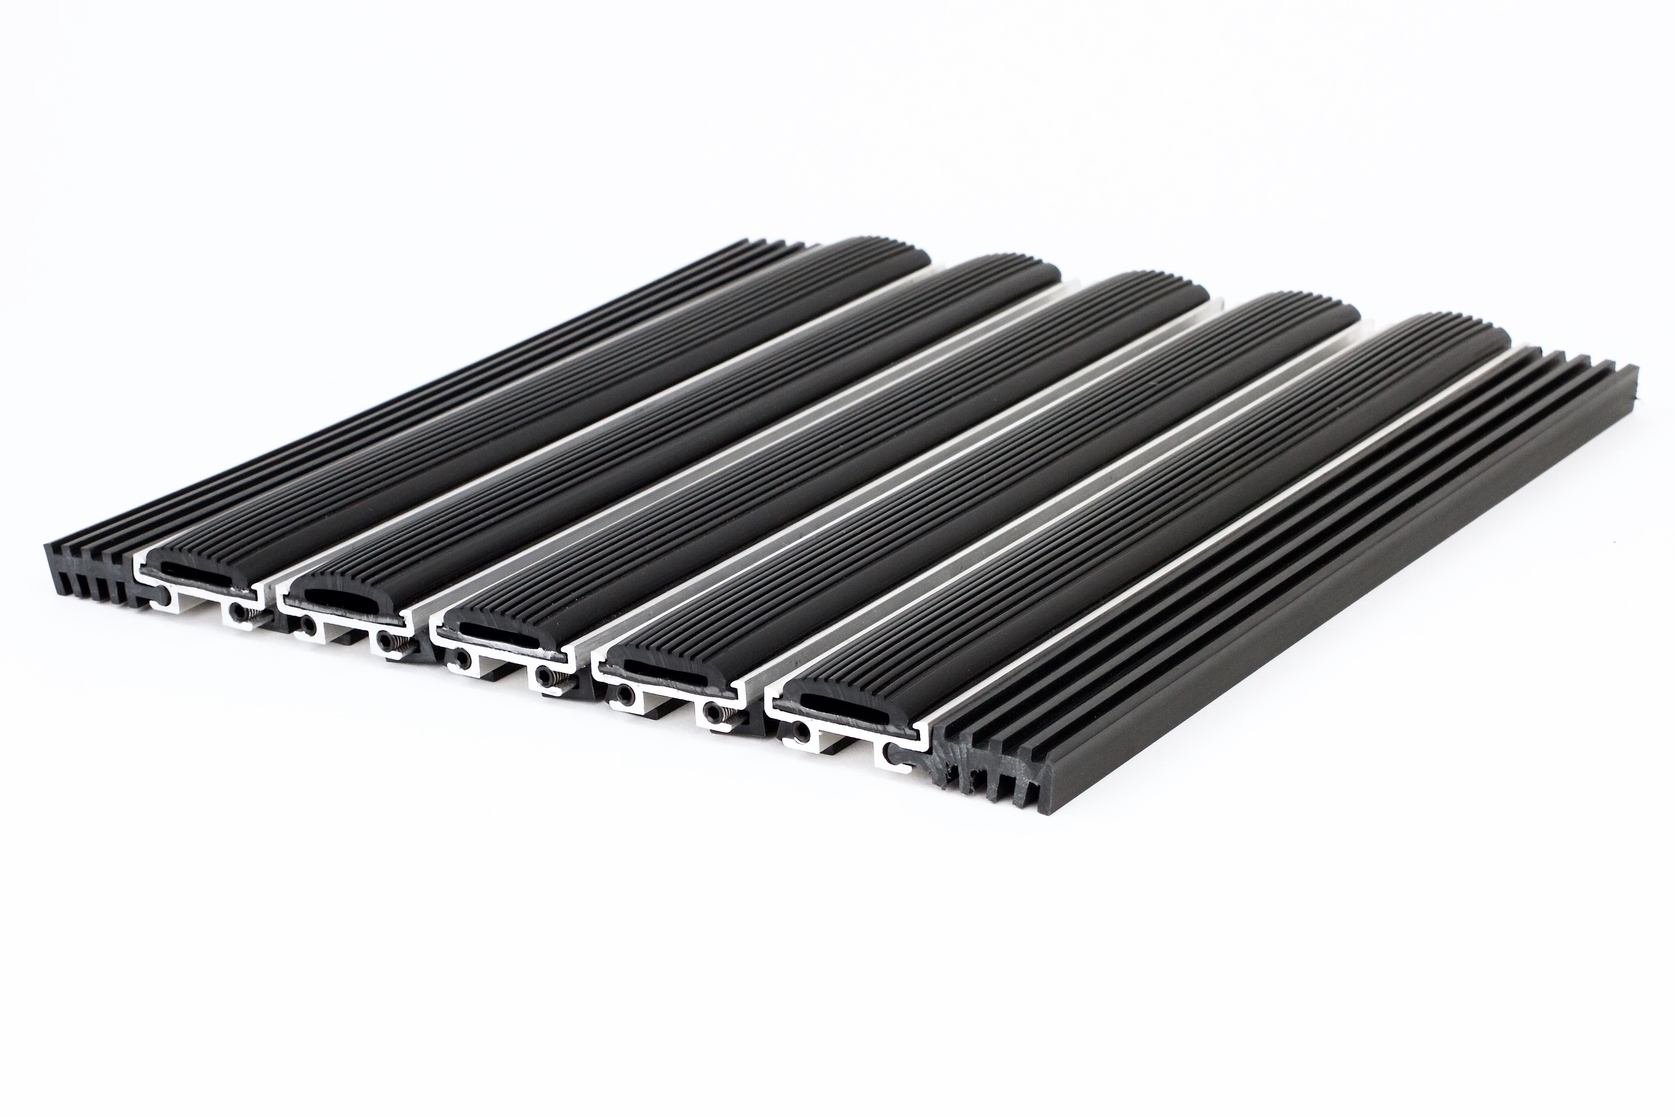
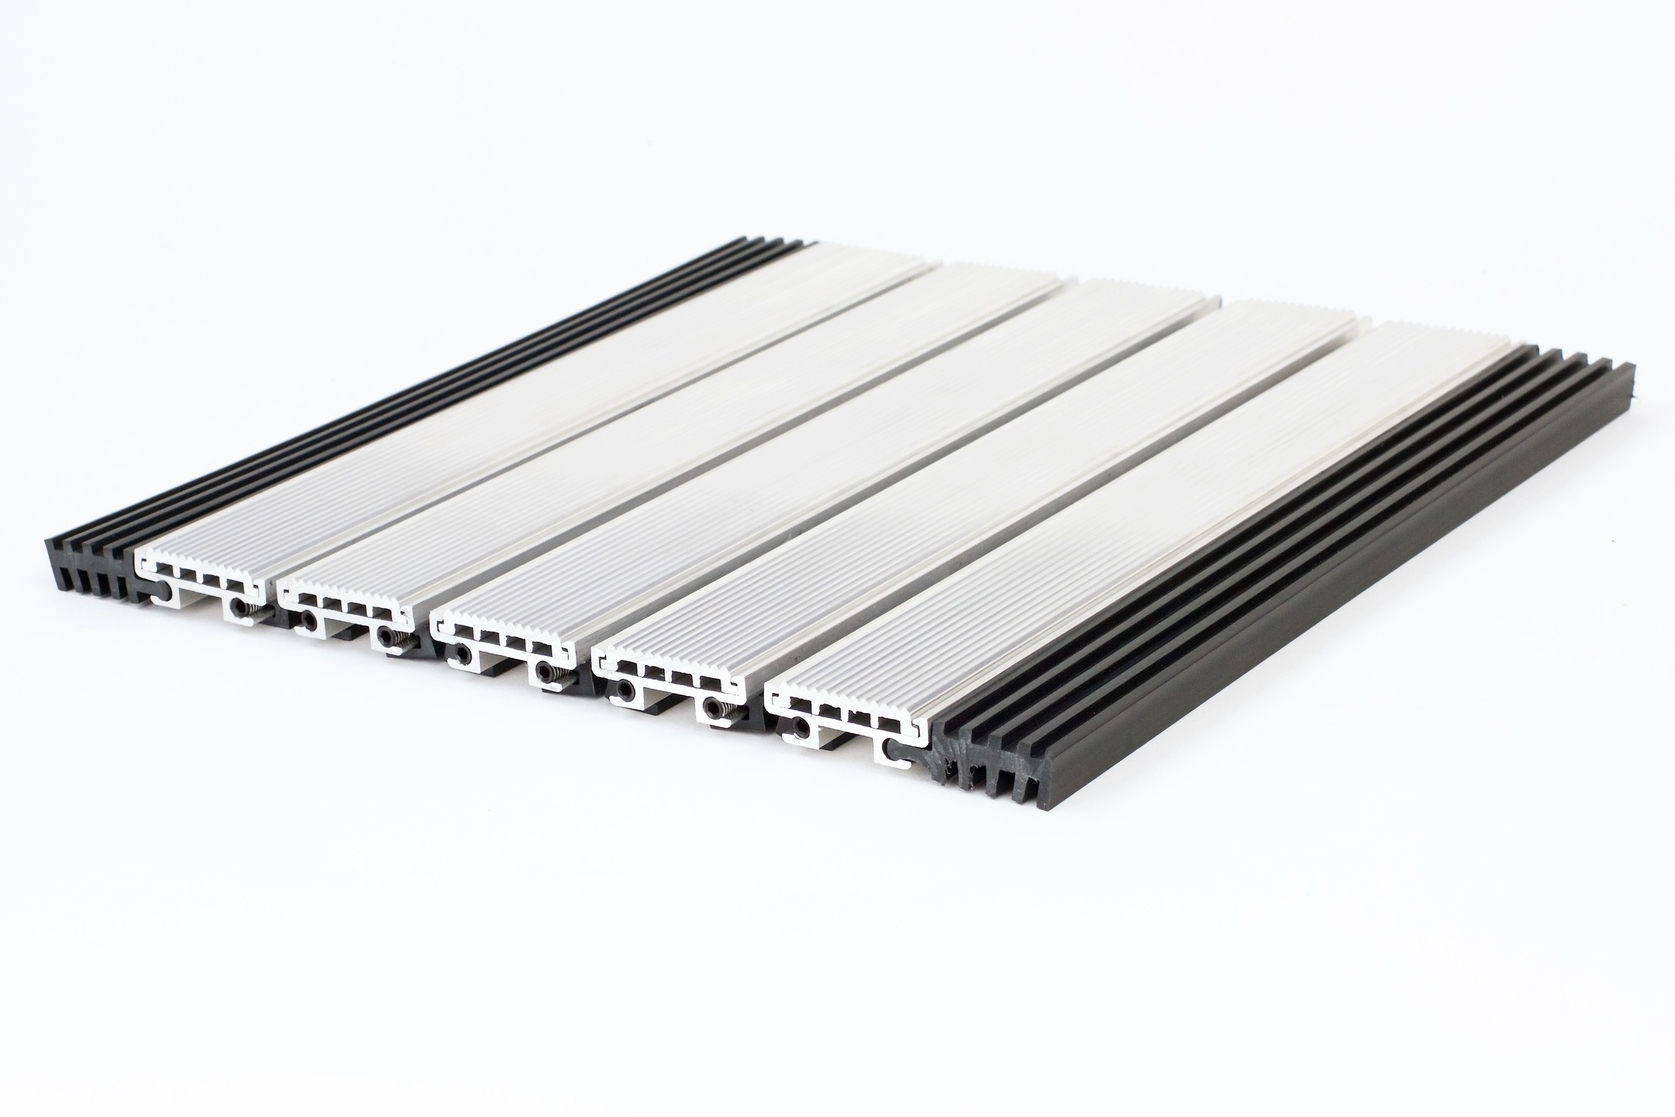
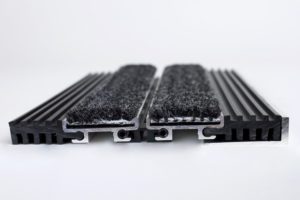
- Clean aluminum surfaces with soap and hot water, then allow mat to dry.
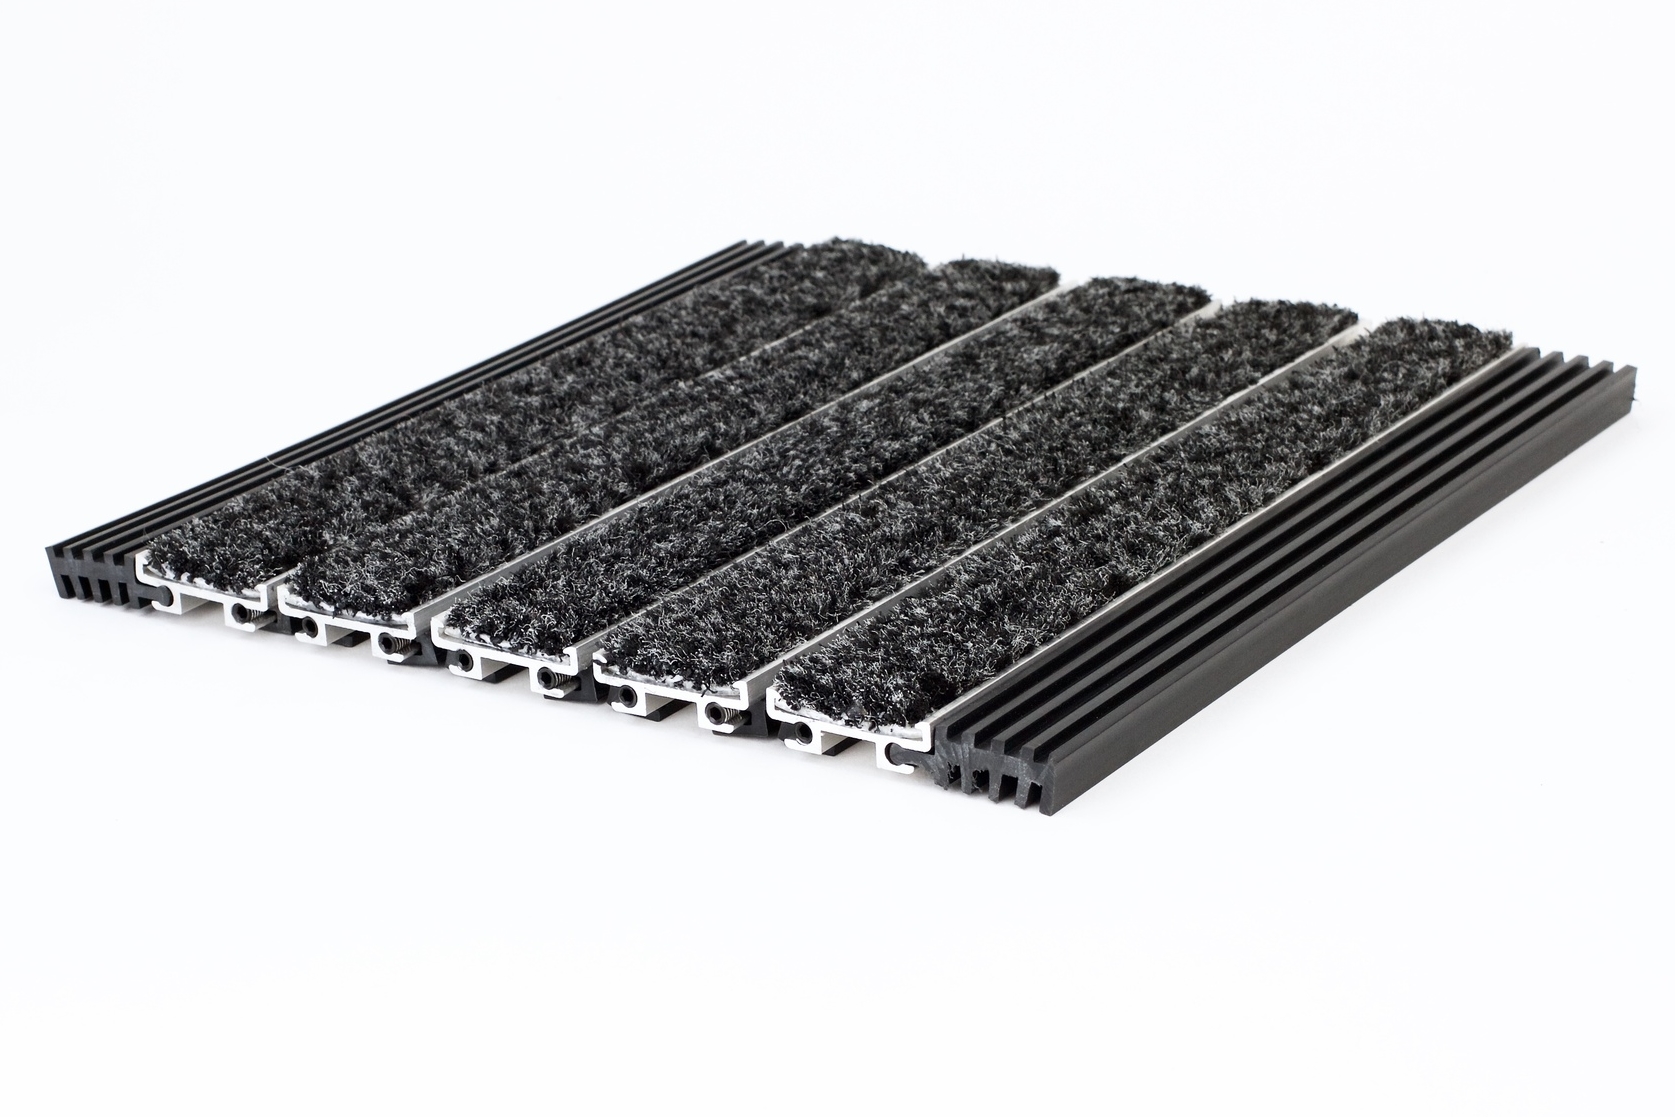
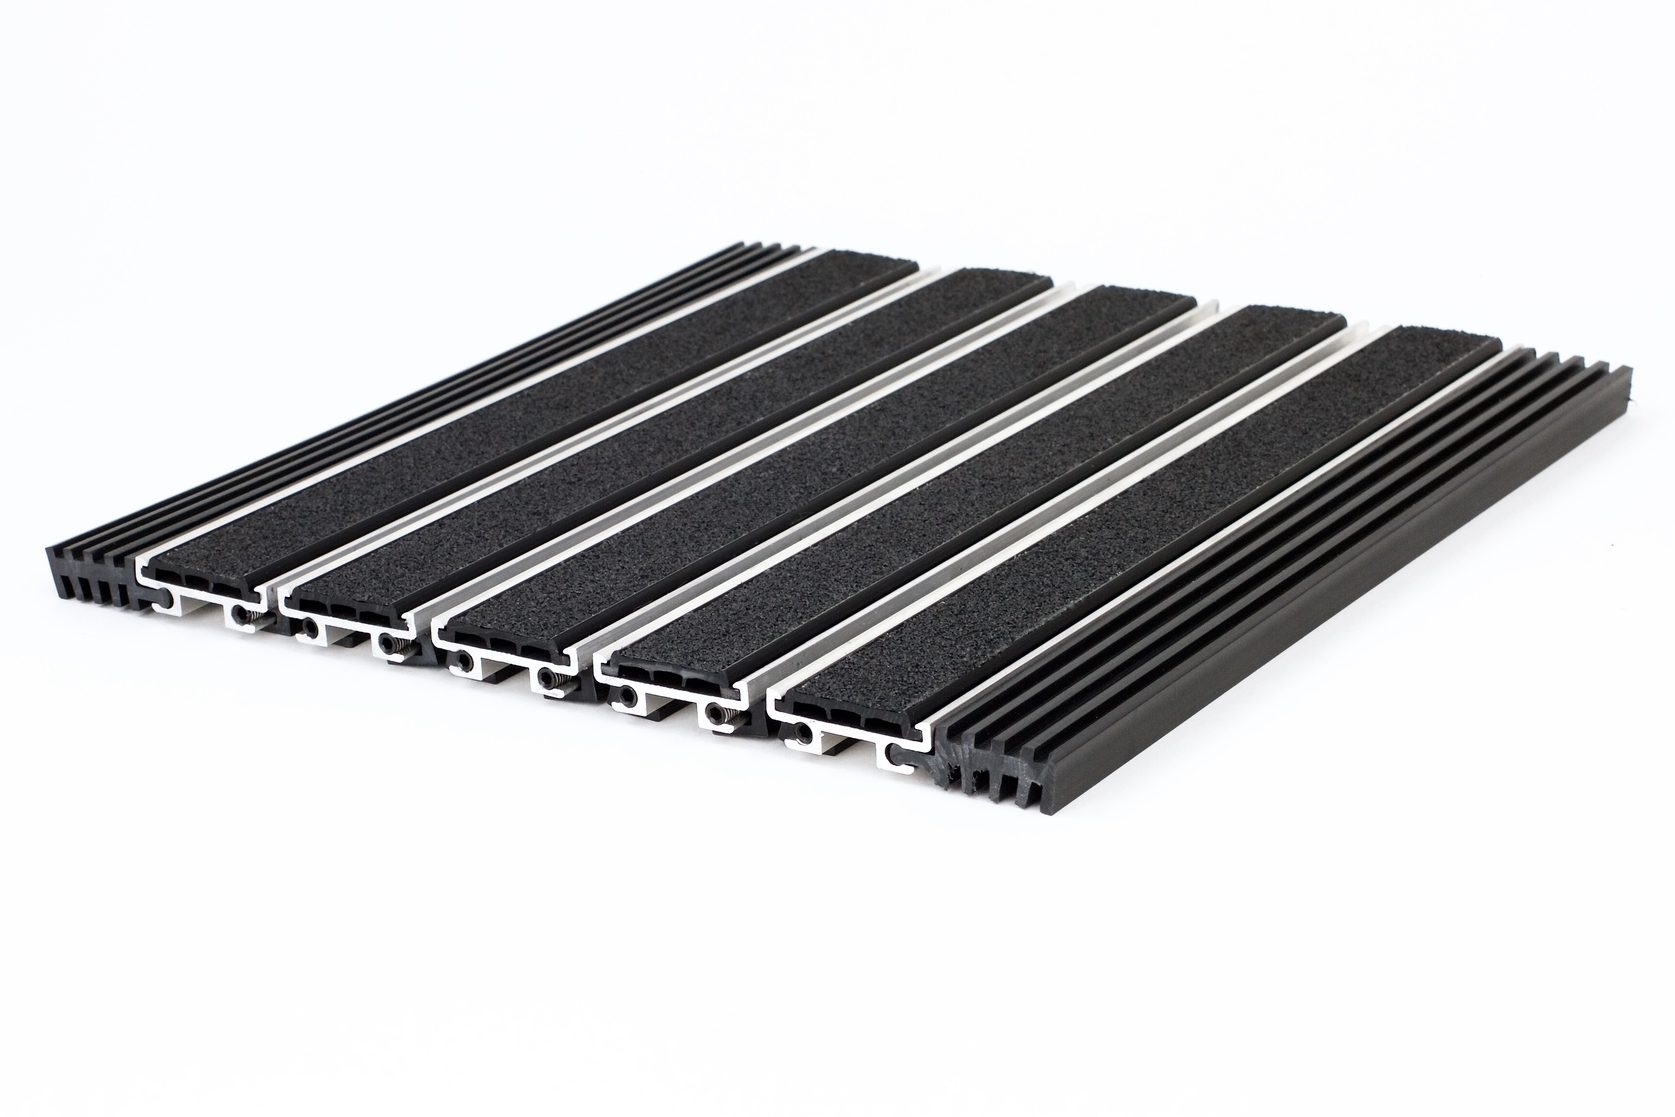
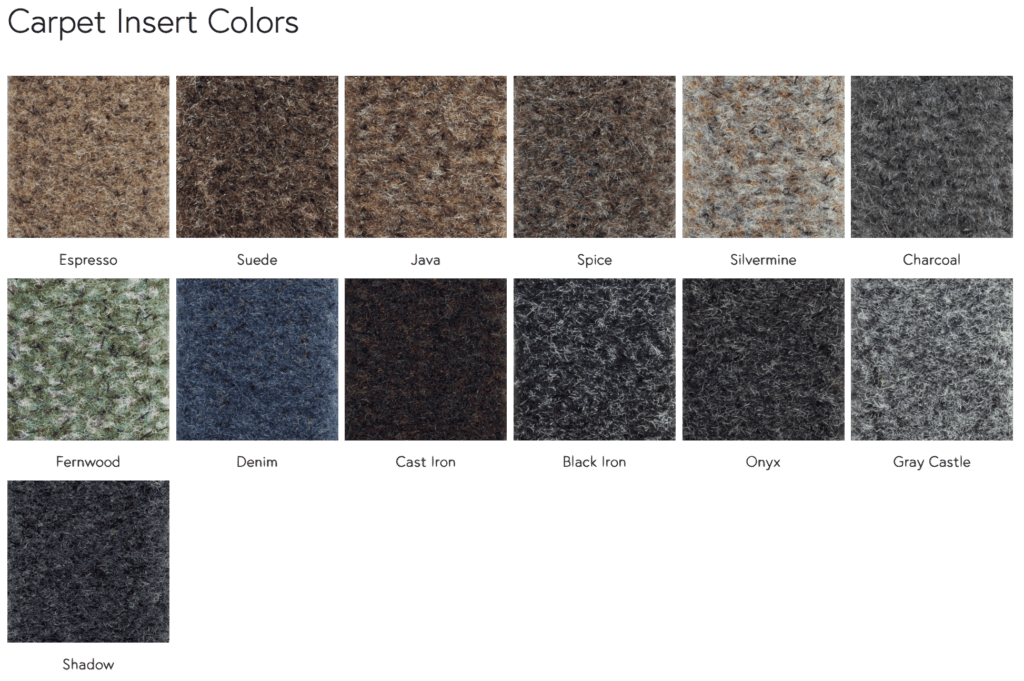
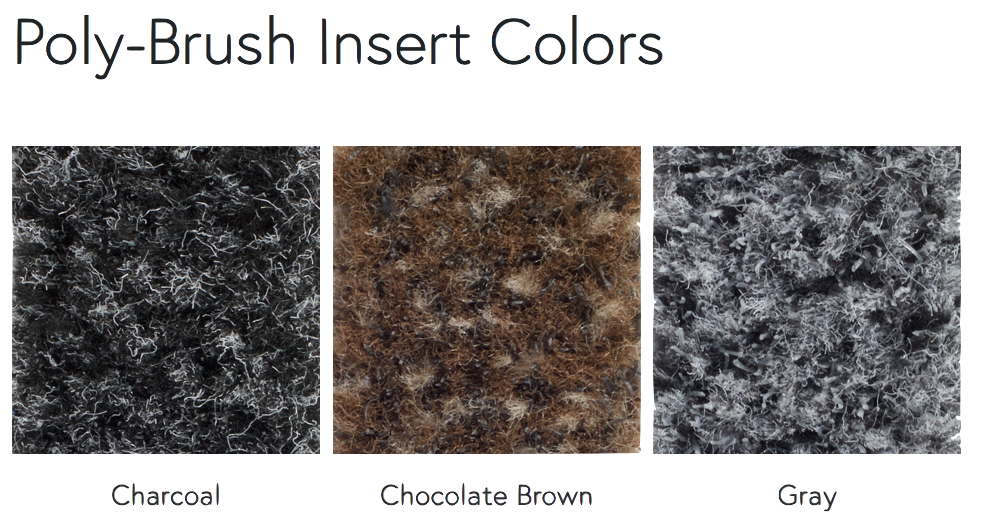
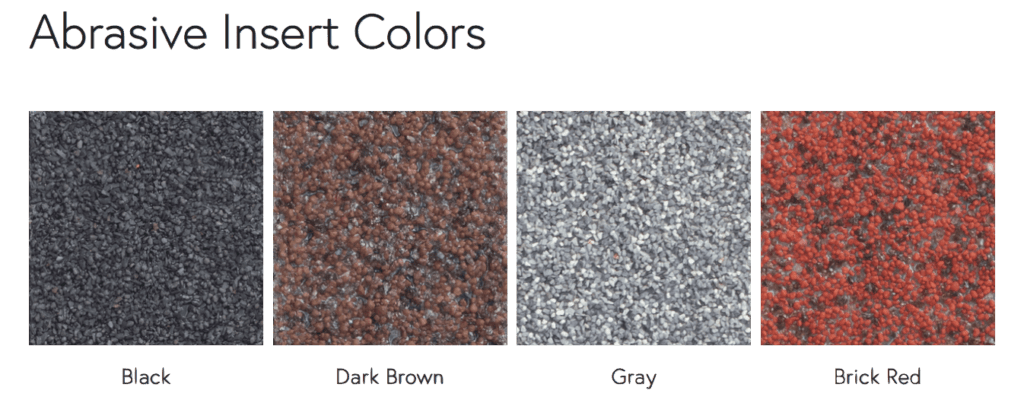
- If applicable, periodically clean carpet and scraping inserts with a hot water extraction machineto remove soil and restore pile.
Exceptions (in addition to above):
- When cleaning products manufactured with rubber hinges (Roll Up Tread 1/2″, Mid-Profile Roll Grate 3/4″ , and Vinyl Hinge Low Profile 3/8″), inspect the hinges and locking mechanism to ensure that all parts are securely attached and are functioning properly. Any parts not functioning properly should be replaced to avoid further problems.
- A stainless-steel cleaner can be utilized, if desired, to maintain surface shine on FootGrille products (stainless steel); Simple Green or Sheila Shine are good options. Just follow the manufacturer’s directions on whatever cleaner is chosen.
Installations Instructions
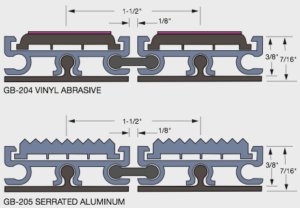
Installation instructions for Mid-Profile Roll Grate 3/4″ & Roll Up Tread 1/2″
Guidelines:
Before any installation is started, be sure to verify:
• Model of tread and frame
• Size of tread and frame
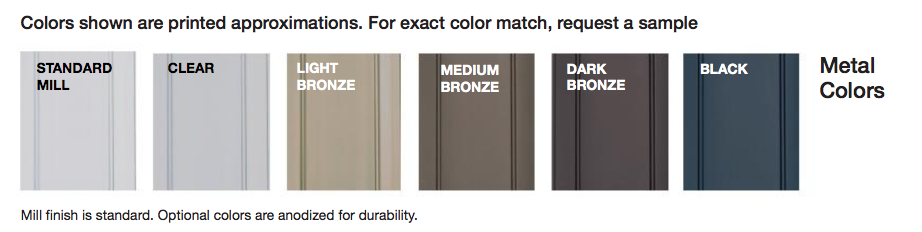
• Product color
• That there are no visual defects or damage from shipment
Important: No returns will be accepted after the material has been installed.
Failure to follow these installation instructions may void your warranty.
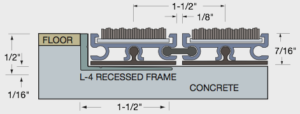
Mad Matter Shallow Recessed Installation Instructions:
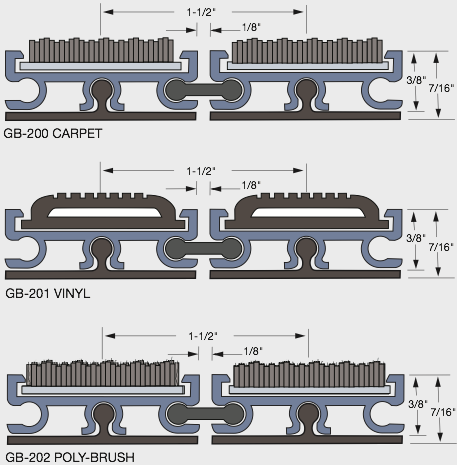
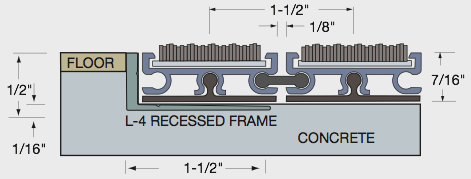
1. Prepare a recess in the concrete flooring at least 1/2”deep (for Roll Up Tread .”) or 3/4” deep (Mid-Profile Roll Grate .”) for frame. The designated cut out area will also be the outside frame dimension. Consult your shop drawing for proper depth and overall outside frame dimensions.
2. Drill holes in the frame at 18 to 24-inch intervals for the bolts/screws. Countersink the holes as the tread will set inside the frame. (This prevents tread from riding up.)
3. Set the frames into position within the recess. Mark the hole locations on the concrete. Remove the frames and drill holes in the floor for the anchors. Clean the concrete dust away and install the anchors.
4. Reinstall the frames using the appropriate anchor bolts. If needed, shim under the frame sections so the top edge of the frame is flush with the finished floor and level.
5. Secure the frame to the concrete bed (straight down) using anchor bolts or screws of choice that are set vertically. Stainless steel screws and plastic anchors may also be used.
6. Pour concrete (using non-shrinking grout) around the edges of the frame (if needed) and in the center of the frame, level with the inside lip of the frame.
7. Level the concrete. Use a board slightly smaller than the frame opening and level
the concrete in each part of the recess. Make sure the concrete (using non-shrinking grout) is smooth and level with the leg of the frame so the tread lies perfectly flat and will not shift.
8. Before the concrete hardens, verify that the dimensions are correct, frame is square and level, and the frame corners are at correct angles, so the mat will fit properly. Verify the outside frame dimensions are identical to your shop drawing.
9. After concrete has hardened, install plywood into the recess to fully protect the frame edges until the entrance is opened and the mat is installed.
10. Clean all frames and recess before installing mat; debris cannot be tolerated between the frame and tread.
Recessed Mat Fabrication Instructions:
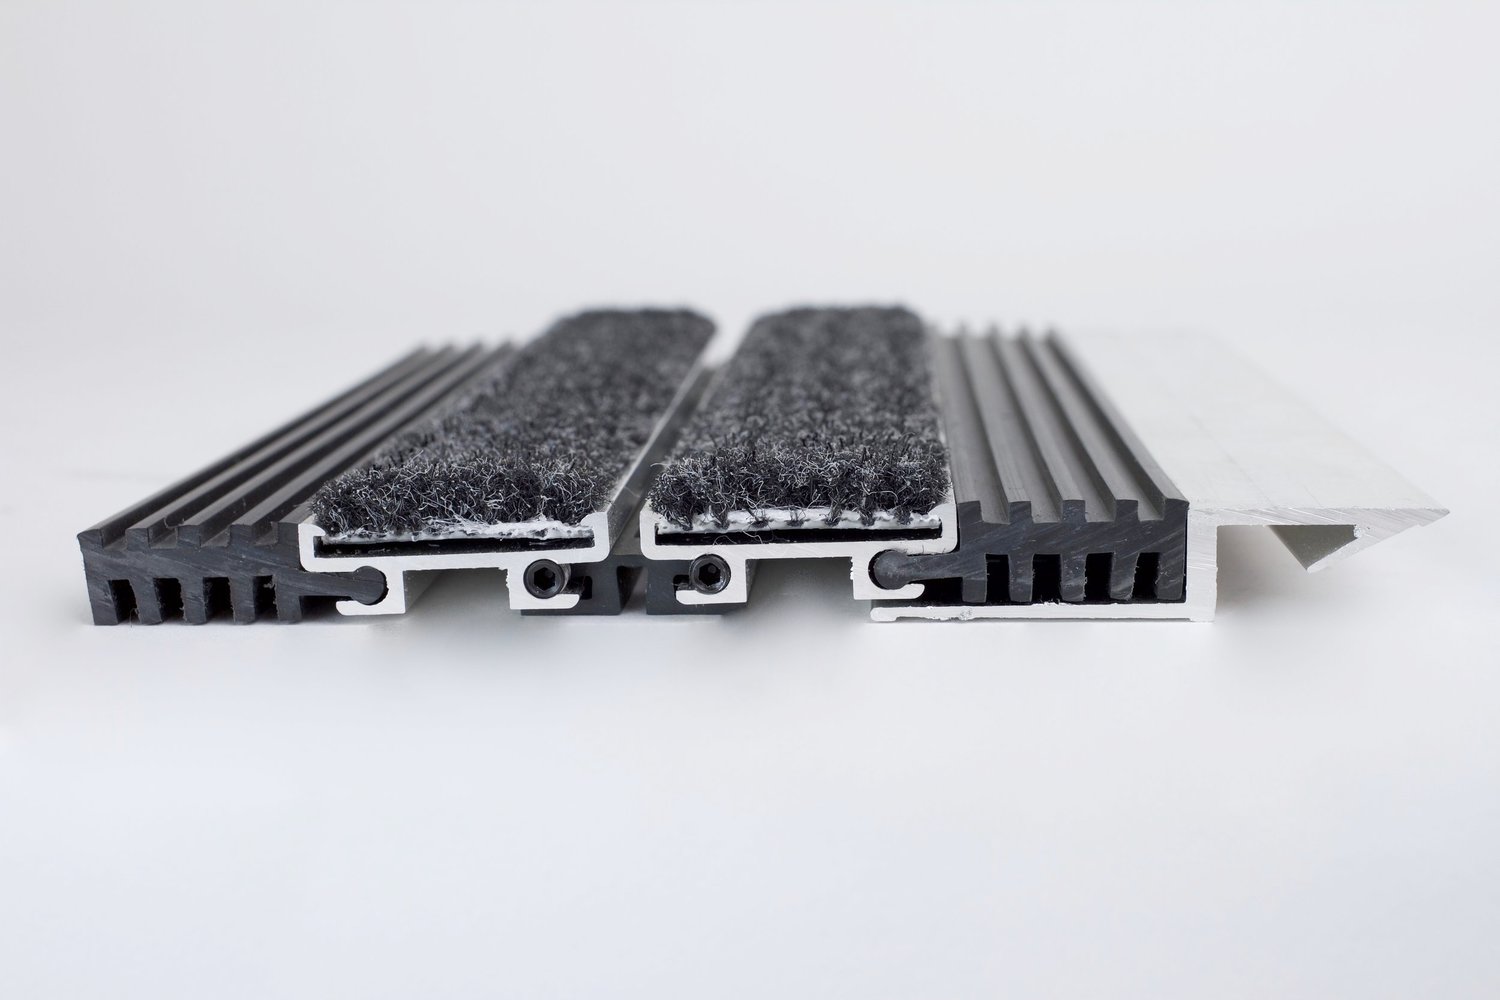
1. Place mat to be cut on sturdy tabletop surface. On one end of the table, fasten a straight edge bar or angle piece to serve as a stop edge for one end of the product. Be sure bar is square on the table.
2. Butt one end of the mat tight to bar fastened to table. Secure width of mat (traffic direction) to the table with screws in between drain holes of hinge.
3. Measure to desired length to be cut and mark product with fine tip black marker.
4. If trimming only 1⁄4” or so, cut carefully with a portable band saw. Prior to cutting it would be ideal to clamp an additional bar or straight edge to top of product to hold mat steady. If trimming more than 1⁄4” or so, a circular saw with a sturdy carbide-tipped blade would work just as well. Use a straight edge or angle piece for saw to travel against to achieve a nice even cut. Be sure to clamp straight edge to product prior to cut.
5. After cut, clean any smudges or markings with lacquer thinner. Remove set screws from cut-off pieces and install set screws to secure hinge in rails. Brush out ends of tread, then singe with a propane torch (on low setting).
6. Clean up product and return to service.
Rail Removal/Addition Instructions:
- Use an H-2 (5/64”) or a 5/64” Allen Wrench Hex Key.
- Install the driver bit in the tip of a cordless hand drill, screw gun, or use the wrench for manual removal.
- Back out set screws on the bottom side of the rails.
- Slide rail forward to remove rail from mat.
- Using the same process in reverse, re-assemble and re-set screw remaining mat piecestogether.
Warranty
The Mad Matter, Inc warrants to its purchasers, for a period of two years on standard products from the date of shipment, that any entrance floor mat or grid will be free of defects in workmanship and materials. The liability of The Mad Matter, Inc is strictly limited to repair or replacement of the product that, in our opinion, were properly installed and subsequently found defective. The warranty is not applicable if the mats or grids are damaged by overloading or if standard cleaning and maintenance procedures are not respected. No claims for consequential damages of any nature will be allowed. This warranty is in lieu of all other warranties, expressed or implied.